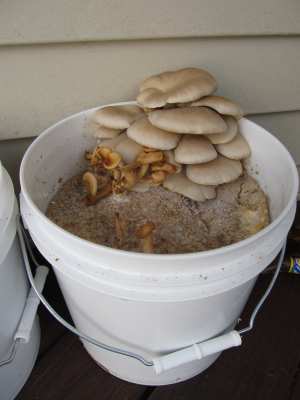
Growing delicious mushrooms doesn’t take very much effort – you can even do so in something as simple as coffee grounds. There are just a few things you’ll need to do this well, which I will cover.
.jpg)

I’ll be showing you how to grow pearl oyster mushrooms, for the record. They are quite easy to grow, taste great and make for a good first time project if you’ve never planted mushrooms before.
For this project, you’ll need:
– A bucket or container of some kind; a 5 gallon plastic pail is recommended.
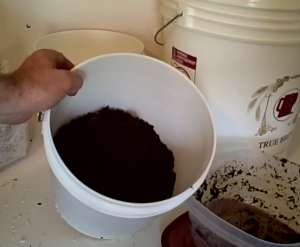
– A good amount of coffee grounds; you’ll want to fill half of your pail with the grounds
– Mushroom spore (like these)
– Plastic wrap (optional)
– Spray bottle for watering your mushrooms
If you’re going to be building up your coffee grounds over time, it’s a good idea to store them in your freezer as this will prevent them from getting moldy. Don’t use them for growing your mushroom garden if they do get moldy, by the way.
Take the grounds out of your freezer 24 hours before you’ll use them as this will allow them to reach room temperature and settle there.
Once you’re ready to begin, fill your bucket about halfway with coffee grounds – more won’t hurt, either.

If your coffee grounds are completely dry, add some water and let it drain out.
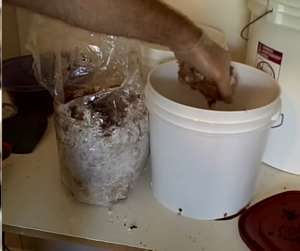
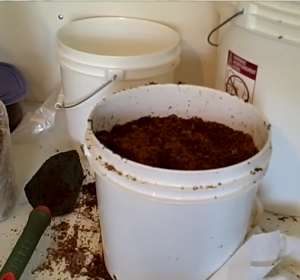
Next, break up the mushroom spores and add them to your bucket. Mix all of the spore right in with the coffee grounds and compress it gently.

If you have enough grounds and spore, fill your bucket up, leaving an inch from the top. If you haven’t got enough grounds and spore, drill a few holes near the top of your bucket, which will allow carbon dioxide to escape from the bucket and not cause it to build up on the surface of your garden.

If you’ve got plastic wrap, cover your bucket with it and make a few holes in the top. Once you notice your mushrooms begin growing, remove the plastic. Once you’ve reached this stage, mist your garden twice a day – within 2 weeks you should notice your mushrooms begin sprouting.

